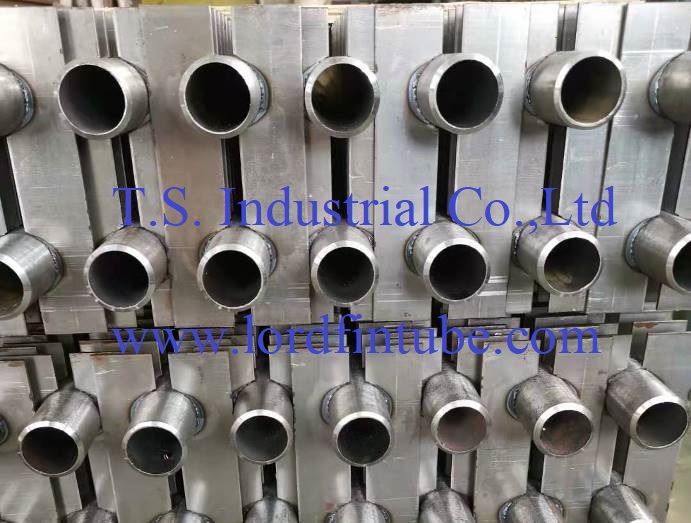
H-shaped finned tube or square finned tube advantages:
H-shaped finned tube or square finned tube adopts a new welding process. A number of zigzag structures are used at the welding contact parts of the fins, so that the heating is uniform, the welding surface is uniform, and the surface is smooth. There is no slag inclusion, porosity and weld beading. The welding fusion rate is up to 97%. Due to the uniform heating, the compression plastic deformation generated in the welding process is reduced, the longitudinal residual tensile stress near the weld is reduced and the residual compressive stress borne by the fin far from the weld is greatly reduced, which can significantly reduce the wave deformation of the fin and make the welding quality of H-shaped fin tube meet the requirements of technical conditions.
H Shape Finned Tube Typical Material and Size | |
H Shape Finned Tube Base Tube Size | φ32*4 φ32*5 φ38*4 φ38*5 φ42*5 φ48*5 φ51*5 φ51*6 |
H Shape Finned Tube Fin Size | 70mmX70mm、75mmX75mm 和95mm X 89mm |
H Shape Finned Tube Base Tube Material | Carbon steel, stainless steel, ND steel, alloy steel, etc. |
H Shape Finned Tube Base Fin Material | Carbon steel, stainless steel, ND steel, alloy steel, etc. |
It can be customized according to the specific requirements of users, and we can also help users design | |
 Technical requirements for production of H-shaped finned tube and square finned tube
1. Welding strength and stability of H-shaped finned tube and square finned tube
1.1 Pull off force test: greater than 200MPa or partial tear of steel pipe
1.2 Weld width: greater than fin thickness, i.e. welding rate>99%
1.3 Stability of welding strength: the first piece of each shift shall be welded to meet the requirements of 2.1 or 2.2
1.4 Weld bending resistance test: the fins are bent 20 degrees left and right, bent left and right twice, and the weld is free of cracks
1.5 Hammer test: strike the upper part of the fin parallel to the steel pipe until the fin falls off, and the fin itself shall not break
1.6 If the test fails, the annealing function must be enabled
2. H-shaped finned tube and square finned tube heat affected zone
Measurement with microscope and microhardness tester
The depth of heat affected zone of steel pipe is less than 0.5mm
3. Dimensional accuracy of H-shaped finned tubes and square finned tubes
3.1 Overall length of wing segment - 1mm~+1mm segmental motion accuracy - 0.5mm~+0.5mm
3.2 Spacing - 0.2mm~+0.2mm
3.3 Verticality of fins and steel pipes - 1 °~+1 °
3.4 The flatness of butt welded fins in the same group is - 0.2mm~+0.2mm, except for the height difference caused by the thickness tolerance of fins
3.5 Height difference of butt welded fins in the same group - 0.2mm~+0.2mm
3.6 Tolerance of double pipe center distance - 0.5mm~+0.5mm
3.7 Under the conditions of the same steel pipe material, the same sheet spacing and sheet number, the length change of different finned tubes after welding is consistent
4 Welding speed of H-shaped finned tube and square finned tube
Base tube outer diameter 25~51, fin thickness 2mm, each pair of welding time less than 3s (excluding feeding and unloading material time and annealing time).
Comments
Post a Comment